This week's challenge is to make anything you want - as long as it isn't a square! But the rules stipulate that you can't USE any squares either! It sounds difficult at first, because let's face it, most quilt blocks are square. But once you think about it, there are many traditional quilt patterns that don't use squares. Grandmother's Flower Garden quilt is made with hexagons. Thousand Pyramids? Triangles. Tumbling blocks? Diamonds. Majestic Mountains? Well that one isn't a simple shape, it is more like a series of similar shapes. But the point is, there are tons of possible 'not square' quilts. But the challenge doesn't limit the entries to traditional quilts. You could make a purse, zipper pouch or a tote bag. A quilted vest, or a jacket. The problem with a challenge like this is that there are so many possibilities that it is really hard to choose just one. I could literally spend a few days just trying to figure out what to make.
But I learned my lesson with the last challenge - if I have a lot time commitments during challenge week, then I need to do a smaller project. Even though I was planning to make a baby quilt for each challenge, I knew that this week would be an especially challenging one to get a baby quilt done. I looked at the calendar and realized that I have major commitments on 6 of the 7 days. So a baby quilt is not going to happen this week.
But what kind of small project could I make? There's always potholders, mug rugs, etc. Boring, but useful. And I have made ones that are circular, hexagonal, octagonal and rectangular. All sew not square! Then I remembered that the guild that I belong to is doing a community service project this year, making placemats for a local service that delivers meals to the homebound. That's it! Placemats are usually rectangular, and I was sure that I could get at least one placemat done in the little bit of time that I had between the other commitments.
So I started through my bookshelf, searching for inspiration. I found the book French Braid Quilts and knew that I had my answer! I recently did a purge of quilting books, but kept that one because a braided quilt has been on my bucket list for quite awhile. A bonus to using them for this challenge is that making a small project with a given technique is a good way for me to decide if I like it enough to make something bigger.
Since I am trying to use up stash, I grabbed the bin of 6 inch squares which were given to me a few years ago. They are a real mish-mash of colors and styles, so I started sorting them by color. I didn't want to take the time to find a sashing or border fabric for each placemat, so I decided to use some leftover strips from a black Kona fabric roll.
I cobbled together seven greys, seven black and whites, and seven red and black squares that would go well with the black. Then I cut three 2 inch strips from each 6 inch square and started sewing them together by color.
After sewing together all 21 strips from each color grouping, I had 3 braids about 25 inches long each. Since the braid technique makes a chevron, or arrow shape, I cut off the excess on the indented 'v" ends to make them even. Then I sewed the two cut-off pieces onto the sides of the pointy end to fill in the edges. After squaring up the top and sides, I ended up with rectangular braids about 22 inches long and 7 inches wide.
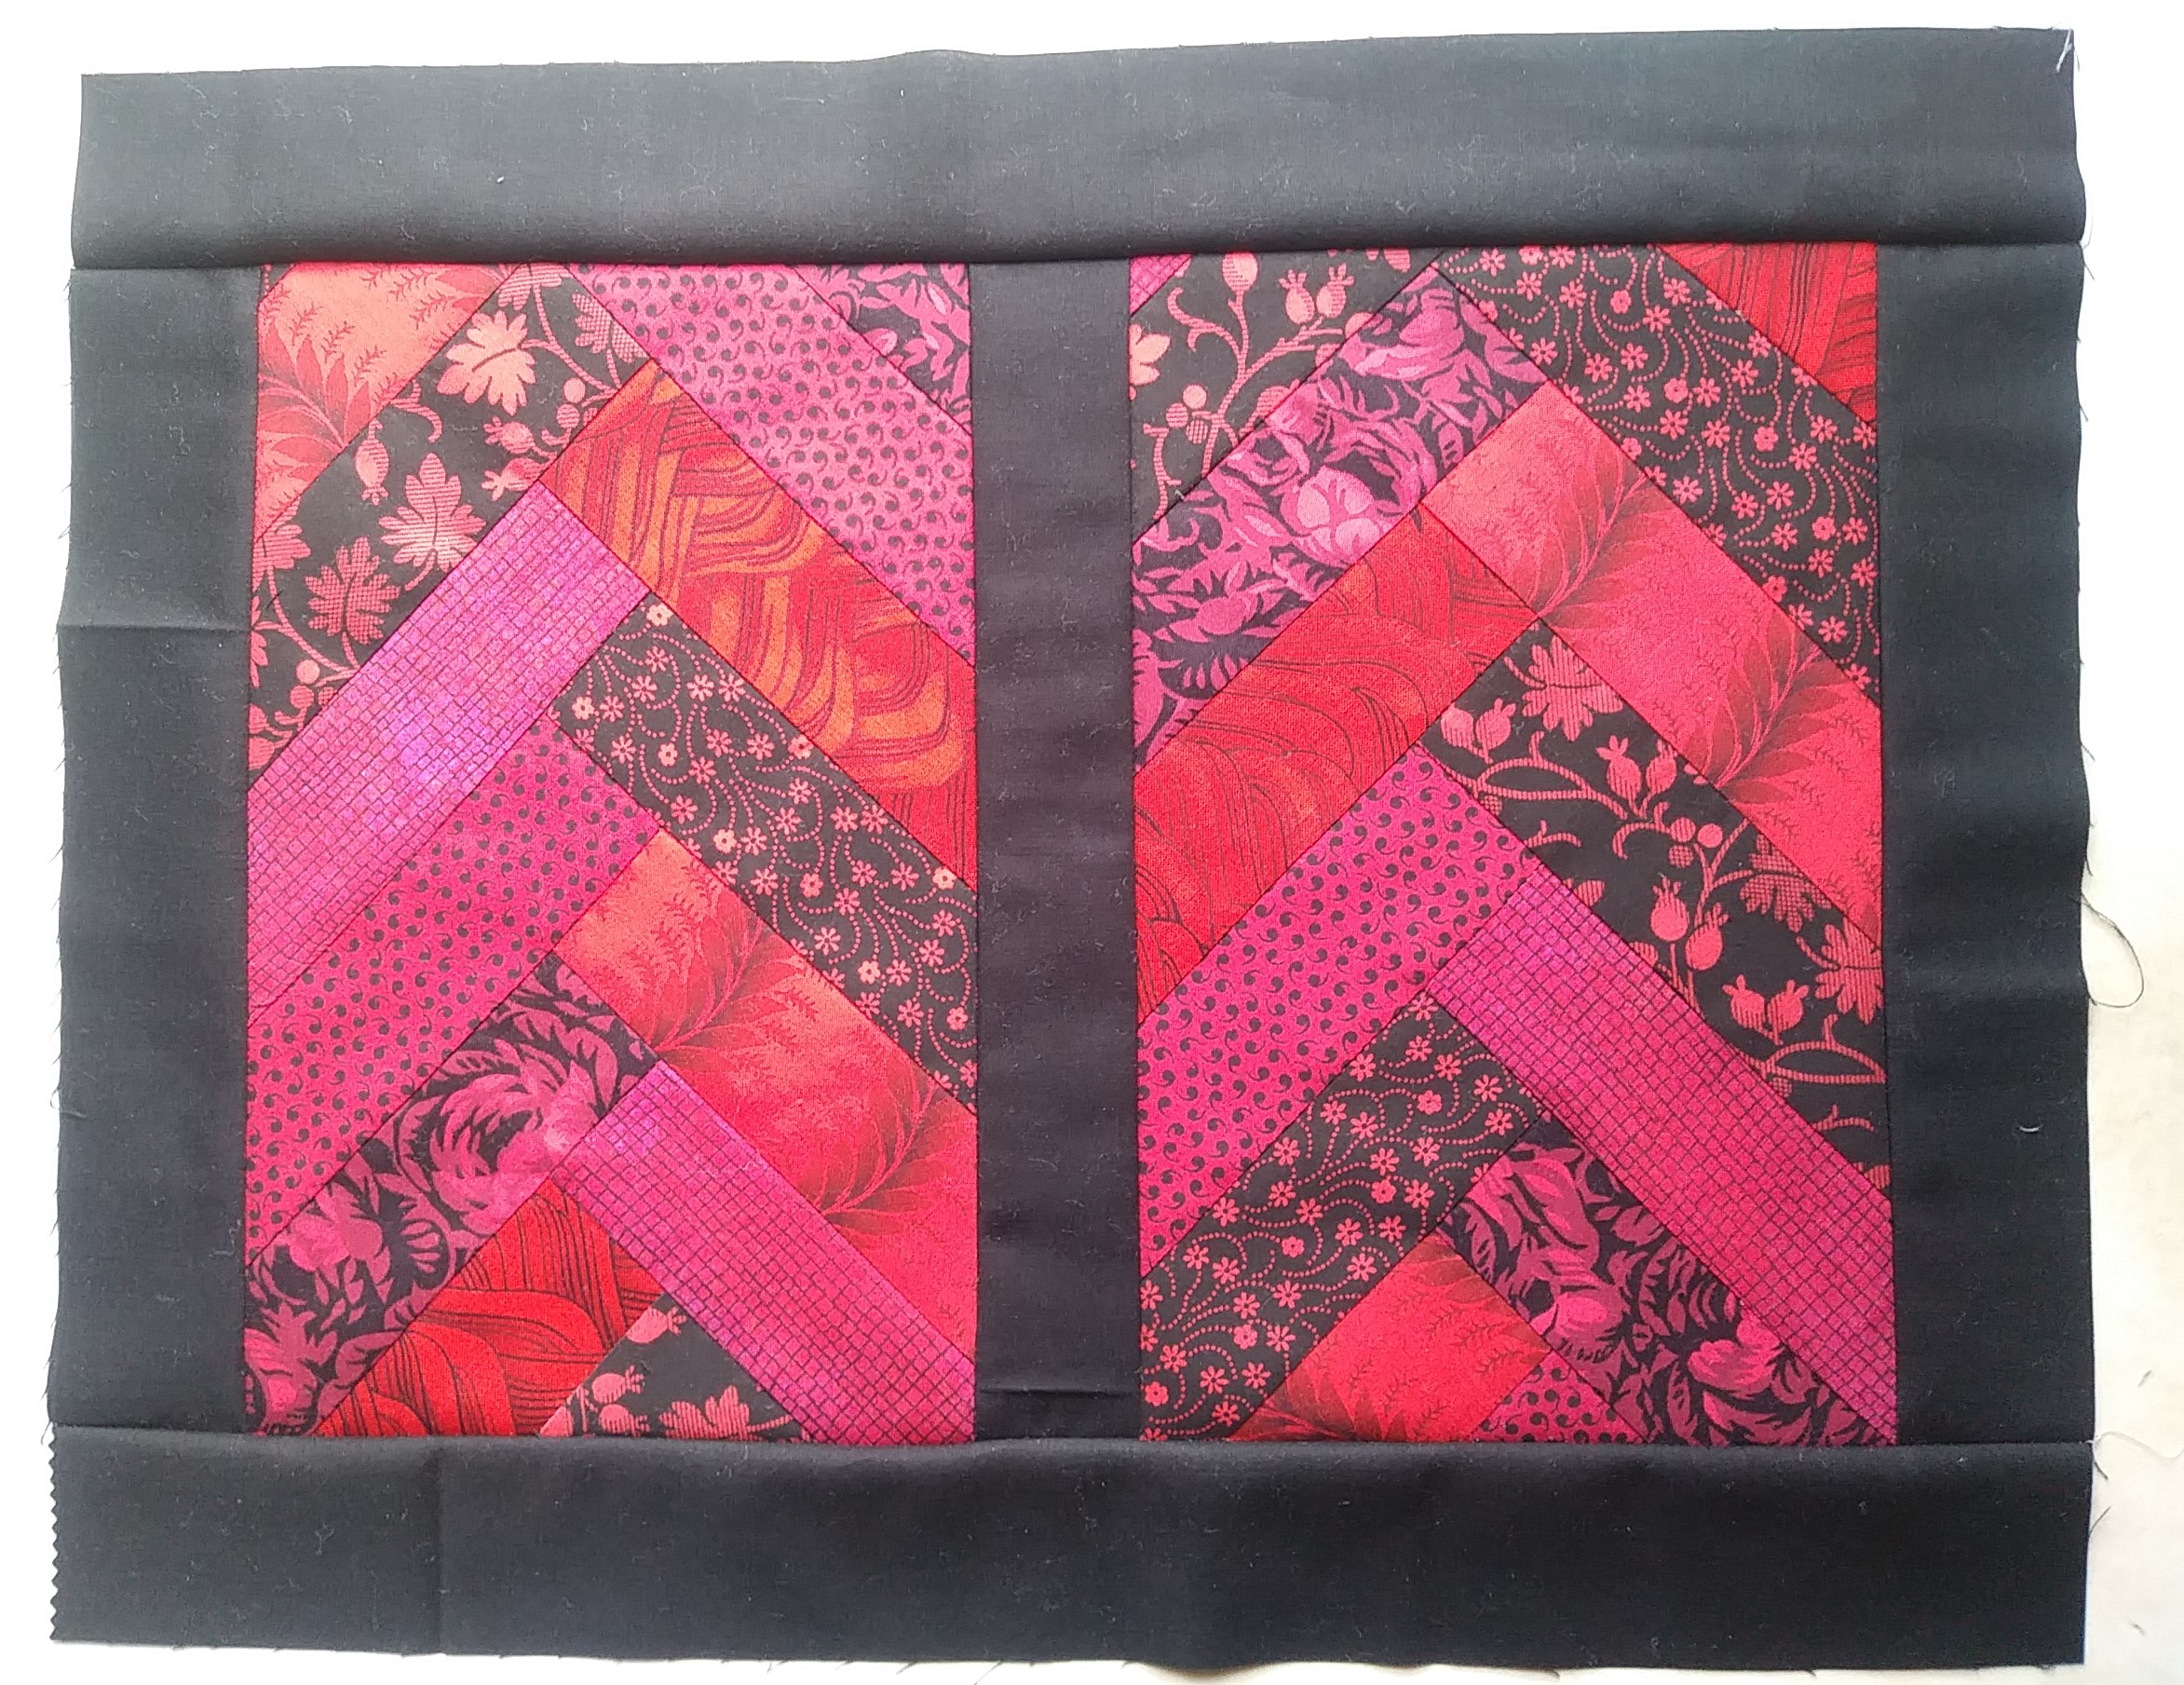 |
| Red/Black Unfinished |
I then cut each braid into two 11 x 7 inch rectangles, sewed a 2 inch wide piece of the black between them as sashing, and added 2 inch strips as a border. This resulted in rectangles about 14 x 18 inches, which is a nice size for a placemat.

Black/White Unfinished
Since I really only needed one placemat for this challenge, I chose the grey one to finish first. No real reason, except the fact that I already had grey thread on my machine! The other ones will be completed before the guild collects them in April.
I did some easy stitch in the ditch quilting with just the top and the batting, then sewed on the backing envelope style. I trimmed off the excess batting next to the stitching to reduce the bulk on the edges, turned it, then stitched all the way around 1/8 inch away from the edges to close the opening and give it a nice edge.
 |
| French Braid Placemat |
Oh how pretty. I love the French Braid pattern. A great way to use stash fabrics as well.
ReplyDeleteVery pretty!
ReplyDeleteThat pattern has been on my To Make list for longer than I care to admit. You did the pattern justice with your PQ14.5 placemat, Barb! Now the question remains... Do you like the Braid enough to make a larger project? Inquiring quilters want to know.
ReplyDeleteWell, I'm not quite sure. Braids are very easy to make, and I really like the look of them. What I don't like the fact that the edges are all bias so they need to handled very carefully. I think that using starch might help, so I will try that the next time I try one!
ReplyDeletebaj555
It's not boring! It's fabulous :)
ReplyDelete