Saturday, January 27, 2024

Project Quilting 15.2 - Sky Color

The theme for the second challenge of 2024 is Sky Color.  But we can't use the typical sky color - blue!  Well, we can use blue, but it has to be less than 10% of the colors in the project.  This time of year, 'less than 10% blue' accurately describes the sky in my area most of the time! We actually get fewer sunny days here than they do in the Pacific Northwest, which is known for it's rain.  I definitely don't want a gray, dreary project! So sunrise/sunset colors, or night sky colors seemed to be my options.

When I did my entry for the "Silhouette" challenge in 2022 (PQ 13.2), I used the colors of the sunrise.  (Well, for me it was more like sunset, since I am hardly ever up in time to see the sunrise ^.^!)  Even though I love those colors, I didn't want to repeat that color scheme in another project.  Instead, I decided to do a night sky with northern lights.

The question was, of course, what to make, and how to incorporate those colors.  When I was searching for images of the Northern lights, I discovered that the aurora are most commonly green, but there are variations depending on the intensity of the solar winds, the composition of the charged particles in the magnetosphere and the altitude at which the charged particles react with the atmosphere.

Image courtesy of space.com

What struck me in all the images was the flowing ribbons of greens, blues, violets and even reds and pinks! It reminded me of a bargello quilt, so that's what I decided to make.

I've never made a bargello quilt, so that lead to another bout of internet surfing. I found a few sites that had instructions, so I figured that it might be pretty easy to pull off a small one in a week.   

I decided early on that I would only use fabrics in my stash for my PQ projects.  I have a medium size bin of solids that was given to me, so I decided to use those.  The only drawback was that I didn't have enough of the clear vivid colors that I've come to associate with the aurora borealis.  I did have pastels, so that is what I used. I reasoned that maybe not all northern lights are vivid, but the vivid ones make the best photos, so that is what you usually see on the web.   I also had some midnight blue and inky black, which I used to represent the night sky.

I used the tube method, where you sew all your strips together, then sew the first strip to the last one. Then you flatten the tube on your cutting table and cut across into varying widths.  This gives you a bunch of fabric strips that are sewn into a circle.  

You then use your seam ripper to remove the thread between two of the segments of the circle, which turns it into a strip.  Each time, you move up or down one segment so that the colors shift when you sew them together.  I'm sure that I'm not explaining the technique very well, so if you want to try it, search the web for Free Bargello Quilt patterns.  Missouri Star Quilt Company has a video tutorial on You Tube, as does Sewing with Abeygale.

Since this was my first time with bargello, I made some mistakes and it didn't quite turn out the way that I first envisioned.  For example. I should have used a few more strips, because my end result was somewhat too long and not quite wide enough.  I solved that problem by piecing an extra column from the scraps. All in all, though, I think that it turned out OK.

Since the aurora is mostly green, I used a variegated green thread to quilt wavy lines to simulate the the flowing ribbons of color.  


Pastel Northern Lights Bargello


Saturday, January 13, 2024

Project Quilting 15.1 - Bird House

Bird House?  I have to admit that I wasn't exactly inspired by the theme.  But then again, not everyone has to like every theme.  I toyed with the idea of making an actual 3 dimensional bird house and using it for a tissue box cover, but I really wasn't excited about the idea. 

I then thought about doing an online search for bird house blocks.  Again, no excitement.  

When I first started quilting, I bought a number of resource books - yes, the real physical, hard copy hold-them-in-your-hands books.  They mostly sit on my shelves gathering dust, so I decided that it was time to start using them again.  

I found a block called 'Wren House' in Better Homes and Garden's 505 Quilt Blocks book, which was published in January 2003.  This book has a lot of what I'd call pictorial blocks.  I'm not sure that's the correct word, but what I mean is that most of the blocks are images of things (houses, flowers, animals, etc.) instead of traditional quilt blocks that are based on shapes.  

I don't want this to turn into a book review, but if you decide to look for the book, I want you to be aware of a few things.  On the plus side, there are lots and lots of good blocks. The down side is that the book doesn't really give instructions for making the blocks. It has general quilt making information, but it doesn't give dimensions for the blocks or for the pieces thereof.  It does number and letter the parts of each block so that you can figure out what in what order to piece or applique them. Also, all of the illustrations are about 4 inches square. That's not really a problem, as long as you can figure out how to increase the blocks if you want them larger.  

My printer/copier doesn't have the capability to resize, so I grabbed a pad of graph paper and a ruler and played around with proportions.  I managed to make a decent looking representation of the Wren House block that is about 8 inches across.  I added a little length because I wanted the house to look like it was high enough off the ground to keep a cat from jumping up onto it ;>.

I decided that, like many of my prior PQ projects, this was going to be a potholder.  

I dug into my scrap bin and found a cute blackbird print that I used for the house.  A mottled blue print for the background and black Kona cotton for the roof, pole and the entrance and I was done.  I quilted it with a simple straight lines because I like potholders to bend easily. The binding is more black Kona cotton.

Another PQ project done!

Friday, June 2, 2023

Once a nerd.....

OK, I just have to share this with someone! I am feeling ridiculously proud of myself. A little background - I have been following Karen Montgomery on the Nine Patch A Day group on Facebook. She occasionally designs a quilt and shares the pattern with the group. Back in July, 2022 she posted the directions for a Lottery Quilt. It is an easy, scrappy quilt made out of rectangles. The idea is that you use the daily lottery number to decide what color fabric to put where. Each number 0 - 9 is assigned to a color. For example, if number 3 is assigned to red, 7 assigned to blue and 9 assigned to purple, then the number 379 would be represented by a block with a red, a blue and a purple strip, in that order.

The actual directions use a 5 digit daily number, and either 1 1/2 x 5, 2 x 8 or 2 1/2 x 10 1/2 inch strips, depending on how big you want to finished quilt to be.

It looked like a great way to use up some scraps, so I decided to play along. I opened my scrap bin and cut a bunch of various colored 2 x 8 inch strips.

I made the first block on July 1st, made the second block on July 2nd, and so on for about the first week. Then I missed a day for one reason or another. 'No worries, I'll catch up', I thought ..... Well, months later and I am waaaay behind. Once I fell behind, it just felt too overwhelming to go back and find all the numbers, write them down, convert them to the correct color, figure out how many strips I needed, etc. So the lottery quilt languished on the back-burner. But I don't want another UFO, so I am determined to finish it.

Today, while I was trying to figure out a quick and easy way to organize the numbers and convert them to the correct colors, it hit me! I could make a spreadsheet! I used to use spreadsheets all the time when I was working, but I haven't had an occasion to use my skills since I retired. I wasn't sure that I'd remember how, but everything came back pretty quickly. I opened the lottery website and found the history page. This is a cool feature that lets you see the numbers for any given period of time. Since I had already made the blocks for the first couple of weeks of July, 2022, I decided to continue where I left off.

I copied the dates and corresponding numbers to the clipboard, opened Excel, and imported the numbers into a new spreadsheet using the 'convert text to columns wizard' to make sure that each number pasted into it's own column. Then I used conditional formatting to make each number into the appropriate color. TA-DA! Now all I have to do is is glance at the spreadsheet to know which color to sew where!

Yep, once a nerd, always a nerd!


Saturday, March 18, 2023

Project Quilting 14.6 - Conquer a Fear

 The challenge this week has to involve conquering something that scares you.  

"You see, to grow you must face fears. It’s the way to achieve and succeed. If you only do what’s safe and comfy, you’ll stagnate and grow soft. The way forward is always by finding and following a new path. Growth. So this week, you will confront something you fear. Your project must be about growing through exploring the unknown. 

That all sounds very philosophical and, to tell the truth, pretty vague.  I really prefer a concrete topic for the challenges.  But I guess that is why they call them 'challenges'!

I thought long and hard and realized that I really am not truly afraid of anything.  I have healthy respect for some things, especially those that could hurt me,  but I don't have any irrational fears.  But the challenge seems to be about more than actual fear.  The words worry and anxiety are also used.  So the challenge can be interpreted to mean doing something that makes you uncomfortable, and growing through that. 

When it comes to quilting, I am game for pretty much anything.  I may not enjoy some techniques, but I am willing to try them.  Foundation paper piecing, for example.  I have tried it half a dozen times,  and I honestly just don't like it.  And life is too short to do things that you don't like if there are alternatives!

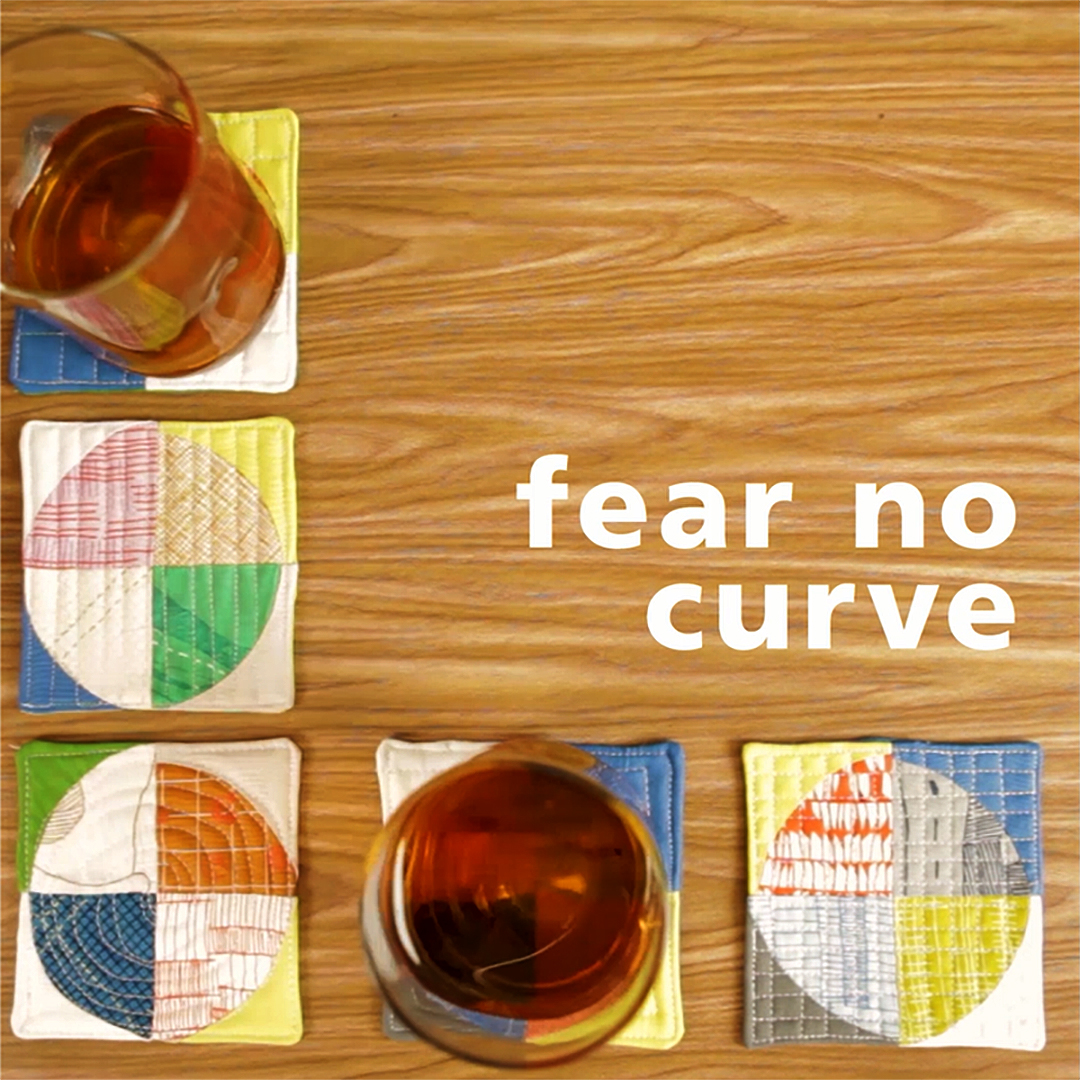
So where does that leave me for this week's challenge?   One of the examples of an anxiety to be overcome that was given as an example is using curved piecing in a project.  Since I haven't done much curved piecing I started thinking that that would be a possibility for my challenge this week.  It  would definitely be a growth opportunity.

Then, as I was reading through my email on Monday, I came across the Bernina "WeAllSew" newsletter.  One of the articles was on curved piecing.  But it was the picture in the article that really caught my eye:


I'm seeing a pattern here! Curved piecing it is!

The last time I did any curved piecing, it was in a workshop where the result was SUPPOSED to be wonky.  So I decided that for this challenge, I would attempt to do a block that requires precision piecing. 

I chose the Drunkard's Path block because there is only one curve in each block, and you can make some really cool patterns with it. 

After cutting out the pieces, I remembered why I haven't done more curved piecing.  It's not the sewing, it's the cutting!  Unlike blocks with straight lines, which you can cut in almost infinite sizes with a ruler, you need a separate template for each size of Drunkard's Path block.  

I only have one ruler that allows me to cut out Drunkard's Path blocks and I didn't want to draft my own templates.  I made a couple blocks to see how they would turn out.  The test blocks ended up finishing at a really weird size - 3 3/4 inches.  If I wanted to finish my project within the week, there was no way that I could finish a baby quilt like I had originally planned.  So, plan B again! 

I decided to make another placemat for my guild's charity project.  Once I had cut out 4 sets of 4 matching blocks, I got very tired of cutting around the curves.  So I decided that whatever project I made was going to use 16 blocks!  

Sewing them together was surprisingly not too difficult.  I pinned the heck out of the first few, then just pinned the center for the rest.  Once I had them done, I started playing with the layout.  My favorite was a 4 x 4 grid because it emphasized the circle in the center.  Then I remembered that I was making a placemat.  Hmmm..... the placemats are ideally supposed to be 13 X 17 inches,  but when I laid the blocks out to make a rectangle, it was 11 3/4 inches by 18 3/4 inches,  And then I had an extra block, and I just couldn't find a layout that I liked.


OK, plan C?  I decided to use my favorite  4 x 4 grid.   The grid finishes at 15 inches square, which is too small for a table topper and too large for a potholder.... so it became a pillow cover! 
 

I found that I am not afraid of curves, I'm just not particularly fond of them.  I would do them again, given the right project. I also realized that the biggest anxiety that I experienced this week was the fear that I wouldn't finish on time!!

Project Quilting is successfully completed for another year.  Looking forward to season 15!


Sunday, March 5, 2023

When Harry met...Jane?

 Project Quilting 14.4 continued

I had decided to use the Harry’s Star block for the 4th Project Quilting Challenge this year.  The theme was “A Novel Project”, and the challenge was to use a novel that you had read as inspiration.  After many frustrating attempts, I gave up and made a potholder.  If you are interested, you can read about that fiasco a couple of posts back.  It's titled "Project Quilting 14.4 or How Harry Potter became The Last Unicorn."

Harry's Star block

Even though I was tempted to wad up the blocks and throw them in a corner,  at the end of the week I had cooled down a little.  I didn’t want to just abandon the blocks, but  also didn’t want to add to my pile of UFOs, so I continued to work on the blocks in the week between challenges.  Since the next challenge week was super busy again, I made another quick project and then got back to Harry, as I had started calling it.  

By the time I had all the blocks finished, I realized that there were 28 blocks, not 24 like I had originally calculated.  Harry was definitely a problem child!  The fat eight bundle that I used was called "Hello Jane" by Allison Harris, and it must have had more fat eights than I originally thought.  I had set aside two of the fat eights to cut up for the binding, and just made blocks out of the rest. In all the confusion and stress with trying to finish in time to use Harry as my entry for 14.4, I didn't realize that I would have more blocks than I needed if I used all the fat eights. 

After mulling it over,  I realized that having the extra blocks was a good thing. I had originally thought that I would have to cobble an extra block together out of the left overs from the other blocks in order to have my planned 40 inch square quilt.  Now that I had 28, that problem was solved. Having more blocks to play with actually worked out quite well. 

I arranged the blocks in a 5 x 5 straight set on my design wall.  During the next few days, every time I walked by, I would check to see if I liked the layout.  If two side by side blocks were too similar for my taste, or if  similar colors were too close together, I  switched blocks around, sometimes substituting one of the extras.  I wouldn't have been able to do that as well without the extras.

Once I was satisfied, I sewed the blocks together and considered what to do with the extras.  I could always throw them into my orphan block bin, but ultimately decided to use them on the back.  I pieced them into the backing in a diagonal row down the middle, then did a simple straight line diagonal quilting pattern.  The batting that I used says that you can quilt up to eight inches apart.  By starting a quilting line in every other square, the resulting diamonds are eight inches, point to point!  Harry was starting to behave! 

I cut each of the two set-aside fat eights into 4 strips, 2 1/4" x ~21" each, to use for the binding.   I sewed sets of matching strips together to make four binding pieces 2 1/4 X ~ 41".  Since Harry is 40" on each side, this was going to be tight!    I planned to use one piece on each side,  putting one color on the top and bottom and the other on the sides.  However, once I laid out the binding, I realized that there wouldn't be enough of an overlap at the corners to do the mitering.  Instead, I placed the color changes at the midpoints, and used straight seams instead of diagonal ones to join the binding strips so that the color change happens right at the centers.    It's easier to see what I mean on the back of the quilt.  If you look at the center top, you'll see that the binding changes color.  Likewise at the bottom, and on both sides.

Extra blocks set diagonally on the back 

'Harry', using Hello Jane fabrics by Allison Harris for Cluck Cluck Sew, Windham Fabrics

I've become quite fond of Harry.  Sometimes it is the 'problem children' that become the favorites, maybe because of all the trouble that they give us.  I think that Harry falls into that category!

Wednesday, March 1, 2023

Project Quilting 14.5 - Sew Not a Square

This week's challenge is to make anything you want - as long as it isn't a square!  But the rules stipulate that you can't USE any squares either! It sounds difficult at first, because let's face it, most quilt blocks are square.  But once you think about it, there are many traditional quilt patterns that don't use squares.  Grandmother's Flower Garden quilt is made with hexagons.  Thousand Pyramids?  Triangles.  Tumbling blocks?  Diamonds.  Majestic Mountains?  Well that one isn't a simple shape, it is more like a series of similar shapes.  But the point is, there are tons of possible 'not square' quilts.  But the challenge doesn't limit the entries to traditional quilts.  You could make a purse, zipper pouch or a tote bag.  A quilted vest, or a jacket.  The problem with a challenge like this is that there are so many possibilities that it is really hard to choose just one. I could literally spend a few days just trying to figure out what to make.  

But I learned my lesson with the last challenge - if I have  a lot time commitments during challenge week, then I need to do a smaller project. Even though I was planning to make a baby quilt for each challenge, I knew that this week would be an especially challenging one to get a baby quilt done.  I looked at the calendar and realized that I have major commitments on 6 of the 7 days. So a baby quilt is not going to happen this week.  

But what kind of small project could I make? There's always potholders, mug rugs, etc.  Boring, but useful. And I have made ones that are circular, hexagonal, octagonal and rectangular.   All sew not square!  Then I remembered that the guild that I belong to is doing a community service project this year, making placemats for a local service that delivers meals to the homebound. That's it!  Placemats are usually rectangular, and I was sure that I could get at least one placemat done in the little bit of time that I had between the other commitments.   

Now the problem was - what to use as the pattern?  A lot of the other guild members are using up orphan blocks and adding fabric to the sides.  The problem with that, of course, is that orphan blocks are generally square which rules them out for this challenge. 

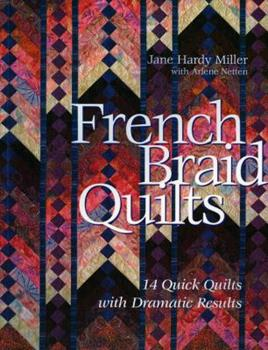
So I started through my bookshelf, searching for inspiration.  I found the book French Braid Quilts and knew that I had my answer!  I recently did a purge of quilting books, but kept that one because a braided quilt has been on my bucket list for quite awhile.  A bonus to using them for this challenge is that making a small project with a given technique is a good way for me to decide if I like it enough to make something bigger. 

Since I am trying to use up stash, I grabbed the bin of 6 inch squares which were given to me a few years ago.  They are a real mish-mash of colors and styles, so I started sorting them by color.  I didn't want to take the time to find a sashing or border fabric for each placemat, so I decided to use some leftover strips from a black Kona fabric roll.

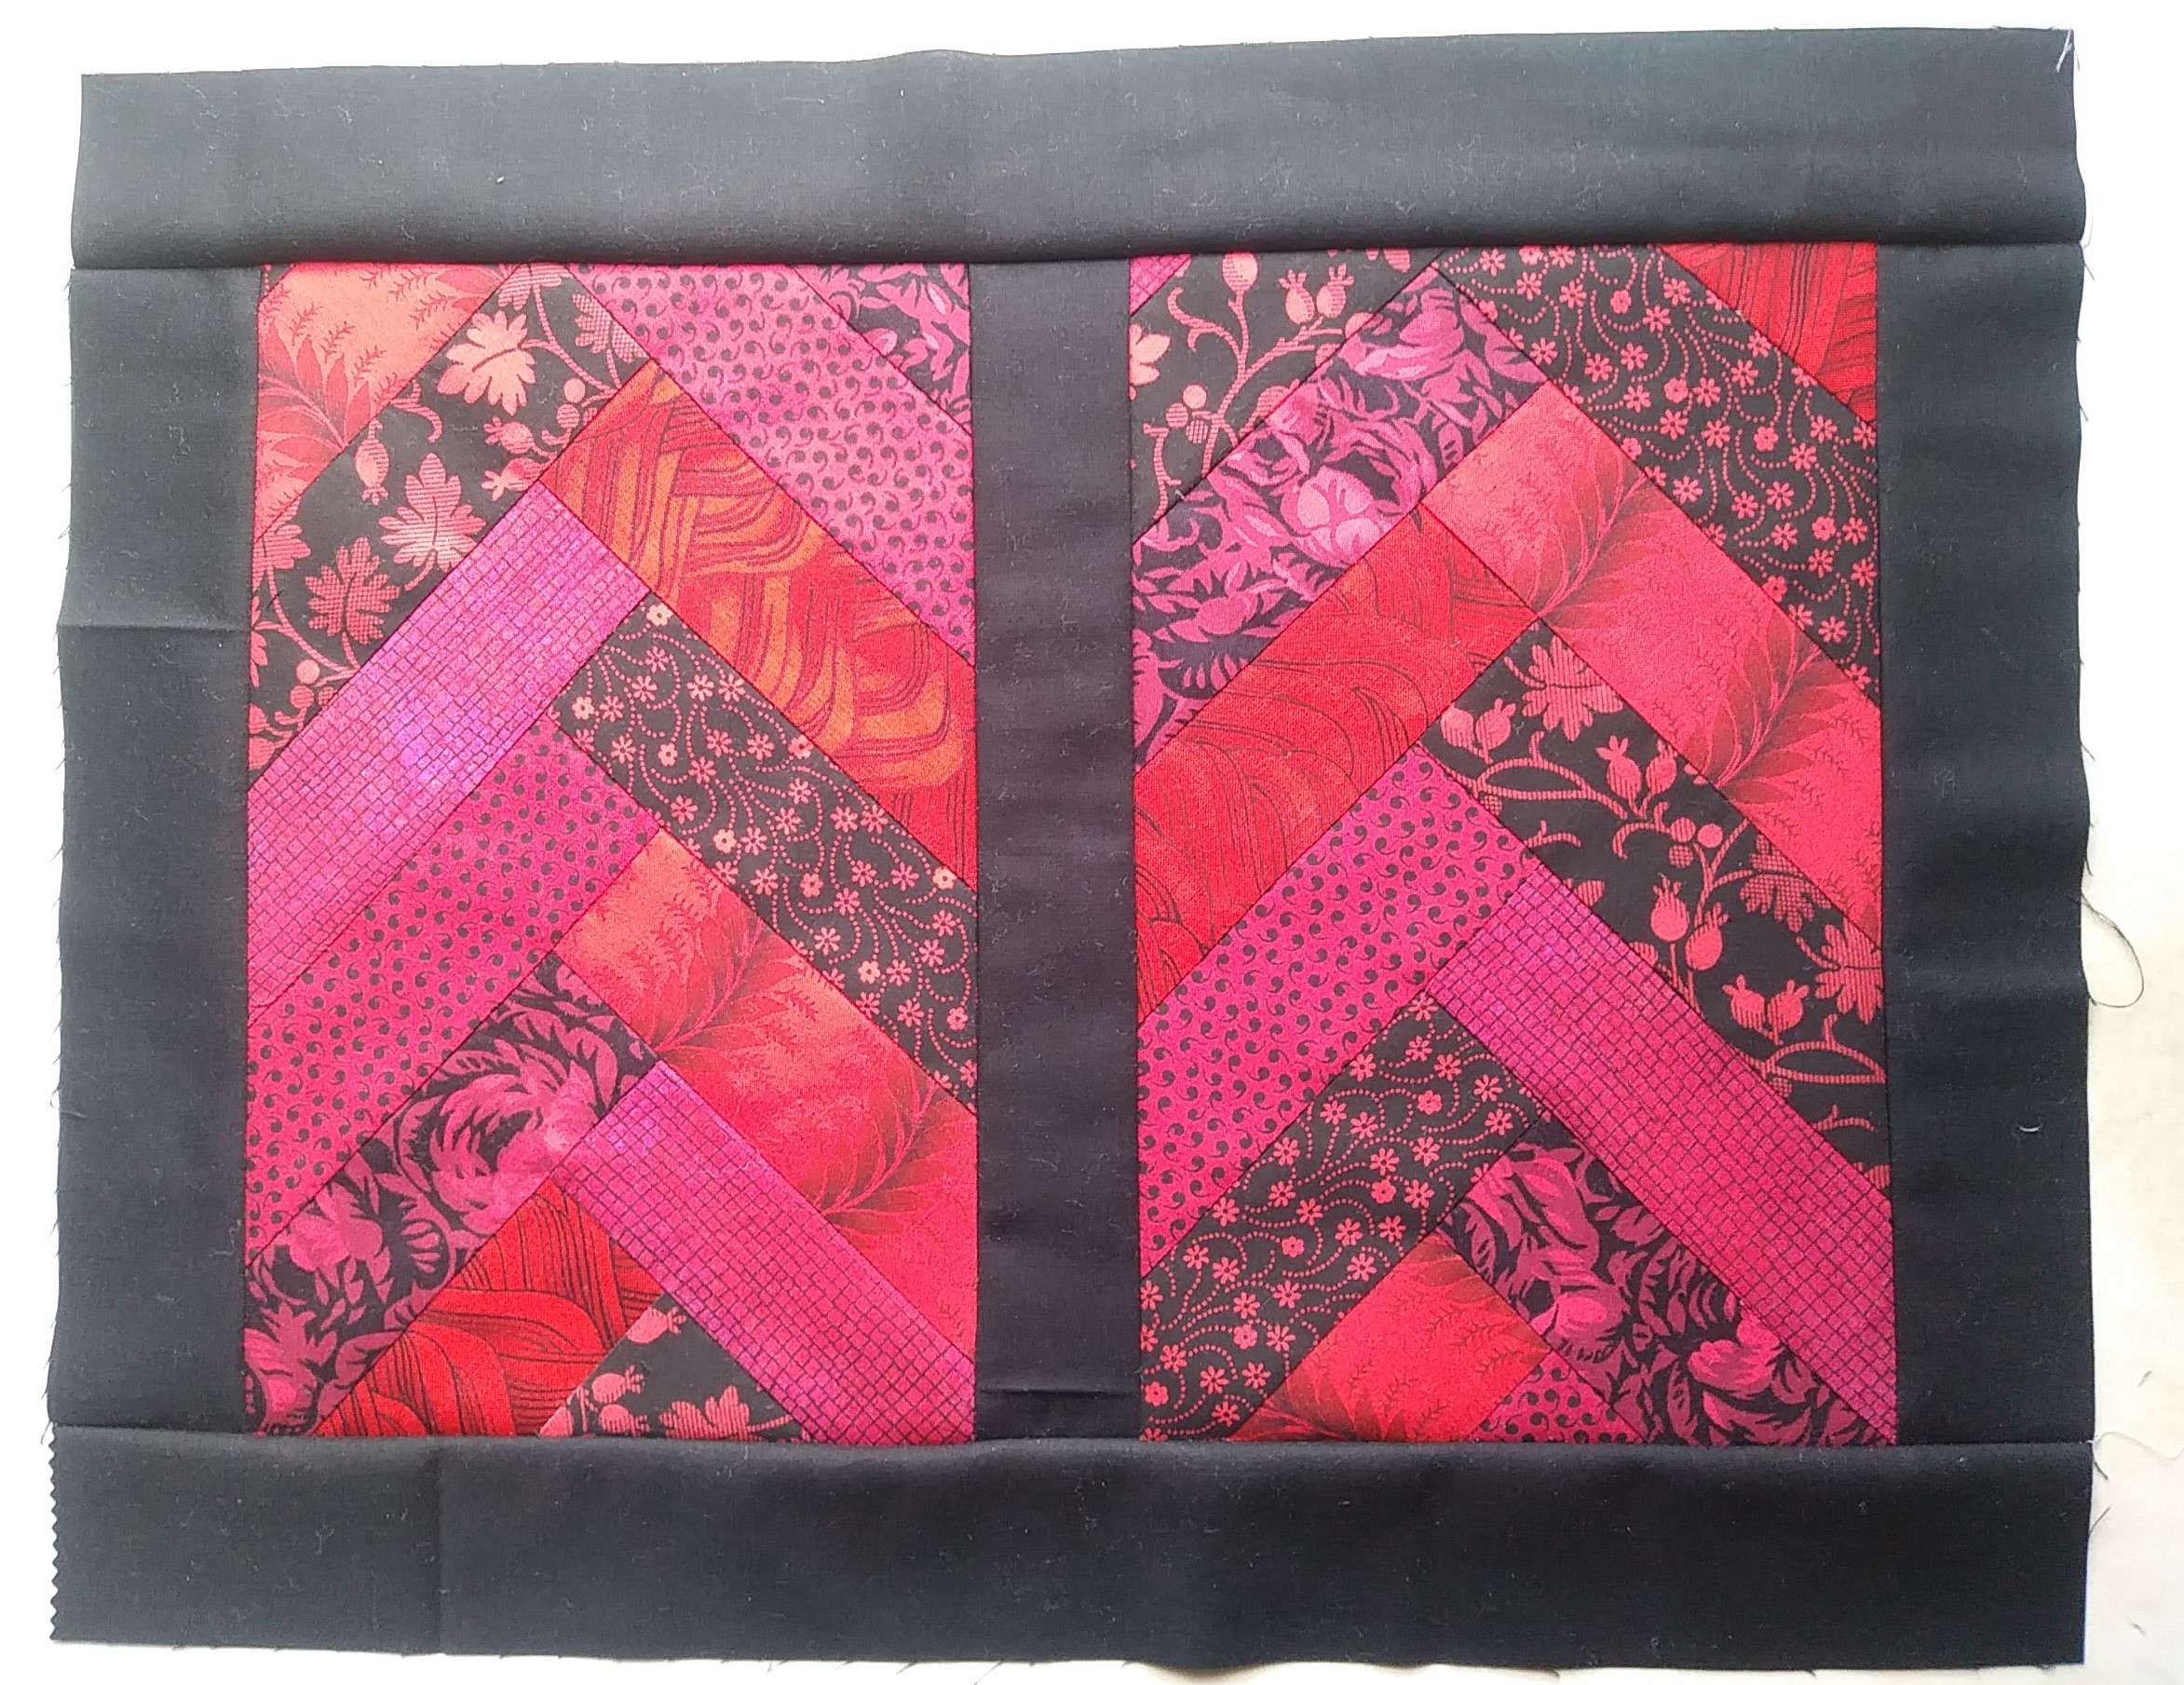
I cobbled together seven greys, seven black and whites, and seven red and black squares that would go well with the black. Then I cut three 2 inch strips from each 6 inch square and started sewing them together by color.  

After sewing together all 21 strips from each color grouping, I had 3 braids about 25 inches long each.  Since the braid technique makes a chevron, or arrow shape, I cut off the excess on the indented 'v" ends to make them even. Then I sewed the two cut-off pieces onto the sides of the pointy end to fill in the edges.  After squaring up the top and sides, I ended up  with rectangular braids  about 22 inches long and 7 inches wide.  


Red/Black Unfinished

I then cut each braid into two 11 x 7 inch rectangles, sewed a 2 inch wide piece of the black between them as sashing, and added 2 inch strips as a border.  This resulted in rectangles about 14 x 18 inches, which is a nice size for a placemat. 


Black/White Unfinished


Since I really only needed one placemat for this challenge, I chose the grey one to finish first.  No real reason, except the fact that I already had grey thread on my machine! The other ones will be completed before the guild collects them in April.


I did some easy stitch in the ditch quilting with just the top and the batting, then sewed on the backing envelope style.  I trimmed off the excess batting next to the stitching to reduce the bulk on the edges, turned it, then stitched all the way around 1/8 inch away from the edges to close the opening and give it a nice edge. 

French Braid Placemat

Voila! One NOT square placemat - boring, but done!

Friday, February 17, 2023

Project Quilting 14.4 or How Harry Potter became The Last Unicorn

I was intrigued when I saw the subject of this week's challenge.  I have always loved reading.  I can get lost in a book and hours go by without me even realizing it.  My favorite genre is Science Fiction and Fantasy. 

Because I wanted to continue making baby quilts for the challenges, I tried to think of a traditional quilt block that I could associate with a book that I'd read.  Nothing jumped out at me, so I grabbed my copy of Maggie Malone's 5,500 Quilt Block Designs and started through the index.  I figured that there had to be at least one of the 5,500 quilt blocks that reminded me of a book!  

I actually found several that could work.  For example, 'Card Trick' reminded me of the Queen of Hearts in Alice's Adventures in Wonderland.  The problem was that I'm not sure that I ever read the book, or if I just remembered the Queen from the Disney movie!  The same issue came up with several other blocks - I was familiar with the books, but I had never actually read them.  

Then I found it!!! 'Harry's Star'!  I have read all of the Harry Potter books several times and I loved them.  My kids and I would anxiously wait for the next book in the series, and then pass them around.  It was really hard not to talk about the books until we had all read them!

Harry's Star is a directional block that uses two fabrics and a background so I originally thought about making it scrappy.  The problem with that was that I didn't want to waste time digging through my scrap bin for coordinating sets of scraps that were big enough.  Then I remembered that I had several fat eight packs that I had gotten from a Quilty Box subscription that I had before they suspended operations.  I grabbed one of those and did some quick calculations.  I could make four 8 inch blocks from each set of two fat eighths and some background fabric, so a 40 inch baby quilt was feasible from the fat eighth pack.

All the above happened on Sunday after the announcement of the challenge, so I was feeling optimistic about getting another baby quilt done.  That optimism was soon to change. 

On Monday morning, I got up and started cutting and sewing with absolutely no thought that I wouldn't be able to get this project done on time.  Sure, I knew that I had some events and a few other major time commitments this week, but I finished the other three, didn't I?

Remember how I said that the Harry's Star block is directional? It is a 4x4 block with a pinwheel in the center, 4 matching corners, and 4 half square triangles that complete the 4 point star.  


I don't know why I couldn't keep the Half Square triangles in the correct orientation.  I kept having to rip out seams and starting over.  After I realized that I had made four blocks in a mirror image of the correct orientation, I was ready to throw the whole project away! By the end of the day on Monday, I only had four blocks done correctly.  I was starting to doubt my block choice.   

My daughter asked me whether I was sure this was worth all the aggravation, and suggested that maybe I could turn one block into a potholder.  I resisted that suggestion, because I still had most of the week, and two of those days, I had nothing planned except sewing.  I could do this!

I put the blocks on my design wall for inspiration... only 18 more to go, only 16 more to go, etc.  When my daughter walked by and pointed out that two of the blocks had mistakes, I said some not very nice words.  About the third time I had to rip and resew the same block, I said some VERY not nice words!

My daughter kept walking by and muttering 'potholder'... I pointedly ignored her.  

Reality set in on Wednesday afternoon.  I only had one more full day to finish the top, sandwich and quilt it and sew on the binding.  Even with the few hours that I had available on the other days, it just wasn't going to happen.  I really wanted to keep making baby quilts, but realized that with all the time constraints this week, I made the wrong choice with Harry's Star.  

So, I unenthusiastically started making a Plan B.  Fewer blocks, set off with lots of background?  I wasn't happy with that option, because I really liked the pattern that formed when the blocks were set side by side.  In the end, I decided to put the Harry's Star quilt aside and come up with another idea.  

I was browsing my bookshelves for another idea when I found a copy of one of my favorite books, Peter S. Beagle's novel The Last Unicorn.  OOH, now there was something I could work with! Could I do an applique of a unicorn on a smaller project? How about machine embroidery?  Both of those ideas had their own special problems, but I really thought that I had the solution. I went to bed still thinking about the issue.  In the middle of the night, I woke up and realized that I probably had a piece of novelty fabric with unicorns on it.  I had been collecting novelty fabrics for an I Spy quilt, and I was pretty sure that the U fabric I had was either umbrellas or unicorns.  Since I knew that I wouldn't be able to get back to sleep until I knew for sure which it was, I got up and went into my sewing room. I  rummaged through the bin of novelties and AH HA! Unicorns!  The fabric piece was only about 9 inches square, so it was going to have to be a smaller project. 

I had some commitments on Thursday, but was able to spend a few hours making... yes, a potholder. (sigh)